

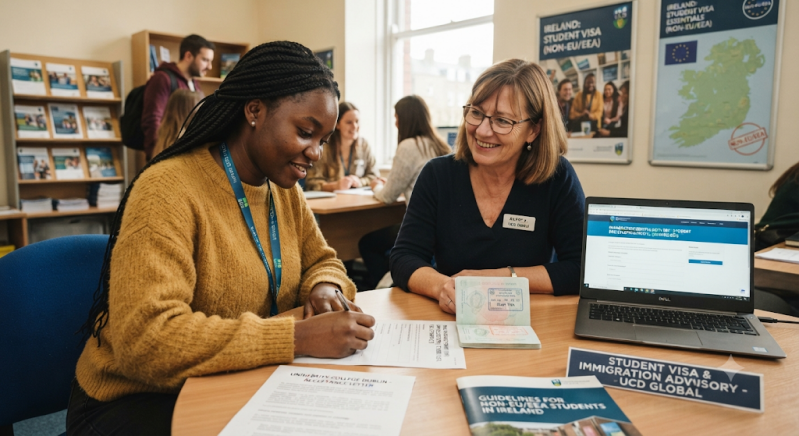
Connectivity, Student Visa & Immigration (Crucial for Non-EU/EEA)
A. Digital & Mobile Connectivity Setup
To survive the Irish housing market and set up your essential bureaucracy, you need working internet and a phone number from day one. You cannot set up local banking alerts or apply for your PPS Number without a reliable connection.
1. Temporary Data (Airalo eSIM)
For immediate 4G/5G data the second you land at Dublin or Cork Airport, use Airalo Ireland (called "Ceád Míle Fáilte").
- Local Network: Connects to Three Ireland (excellent national coverage).
- Speeds: High-speed 4G LTE and 5G capabilities.
- Hotspot: Fully allowed (tethering to your laptop).
- Rates: Starts at ~$4.50 for 1 GB up to ~$30.00 for massive data profiles.
- Limitation: Data-only plan. It does not include an Irish phone number (+353).
2. Permanent Irish Number (+353) — No Contract Needed
Once you arrive at your temporary accommodation, get a physical Prepaid SIM card or local eSIM from a brick-and-mortar store. Ireland does not require a complex VideoIdent registration process.
- Three Pay 20: Top recommendation for students. You top up by €20 every 28 days, which unlocks Unlimited 5G Data, unlimited anytime any-network calls, and €10 bonus credit.
- An Post Mobile / Vodafone: Reliable alternatives that use traditional prepaid top-up systems found at any local post office or grocery store.

B. Student Visa & Immigration (Crucial for Non-EU/EEA)
1. Checking the course eligibility
Before paying any money, the student must check if the chosen college or course gives him the legal right to the visa. The Irish government has a strict official list called ILEP.
-Where to check: Irish Immigration - ILEP Official Page
- What to do there: Download the latest version of the excel/pdf document and search for the name of his university. If it is not there, the visa will be rejected from the start.

2. The official financial guide (How to secure your money)
The Irish consulate is extremely strict with the €10,000 and the fees. The student needs the clear rules written in black and white by the government so that he knows how to prepare his bank statements.
- Where to read the details: Irish Immigration - Student Finances Policy
- What to do there: Check the "Sponsorship" section (if parents are paying) and the rules for 6 months of bank history.

3. Fill out the visa application
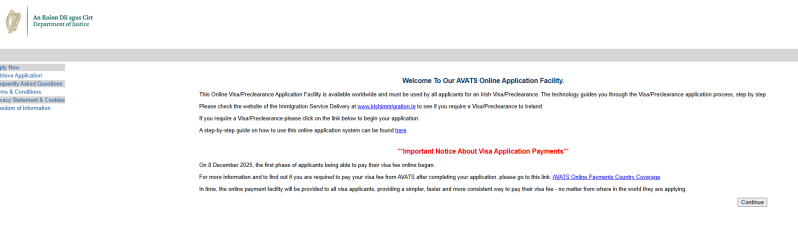
This is the main digital "window". It is a secure government platform (called AVATS) where the student enters all their personal details, passport and study details.
- Where to apply online: AVATS Online Visa Application
- What to do there: Select "Study" as the reason, fill out the form from beginning to end, and finally print the Summary Sheet generated by the site.
4. Where to send the physical file (Embassy in his country)
After completing the online form in Step 3, his physical documents (original passport, bank statements, photos) must physically reach the Irish authorities. Each country (India, Nigeria, Kenya, etc.) has different instructions.
- Where to find the address and local rules: Department of Foreign Affairs - Visas for Ireland
- What to do there: Select the country from which you are applying (e.g. India) and find out the exact address of the Irish Embassy or visa center (such as VFS Global) where you need to go or send the envelope with documents.
